


5 Things to Consider Before Talking to Your Product Packaging Printer
Jul 03, 2020
So you’ve got the product you can’t wait to bring to market. Congrats! It’s an exciting time, and we bet you’re looking forward to launching it.
Before your product hits the shelves, it needs some attention-grabbing packaging. And to make this happen, you’ll have one very important conversation—the talk with your packaging printer. They’ll work with you to hash out the details and come up with the best solution for your product and budget.
If you haven’t worked with a professional printer on a large scale previously, then the process can be intimidating. There are so many choices to make, and each one affects a customer’s first impression of your product.
We’re equipping you with some questions you’ll need to keep in mind during your initial discussion with the printer. Coming into the conversation with an idea of what you want, makes it easier to get a final product you’re proud of.
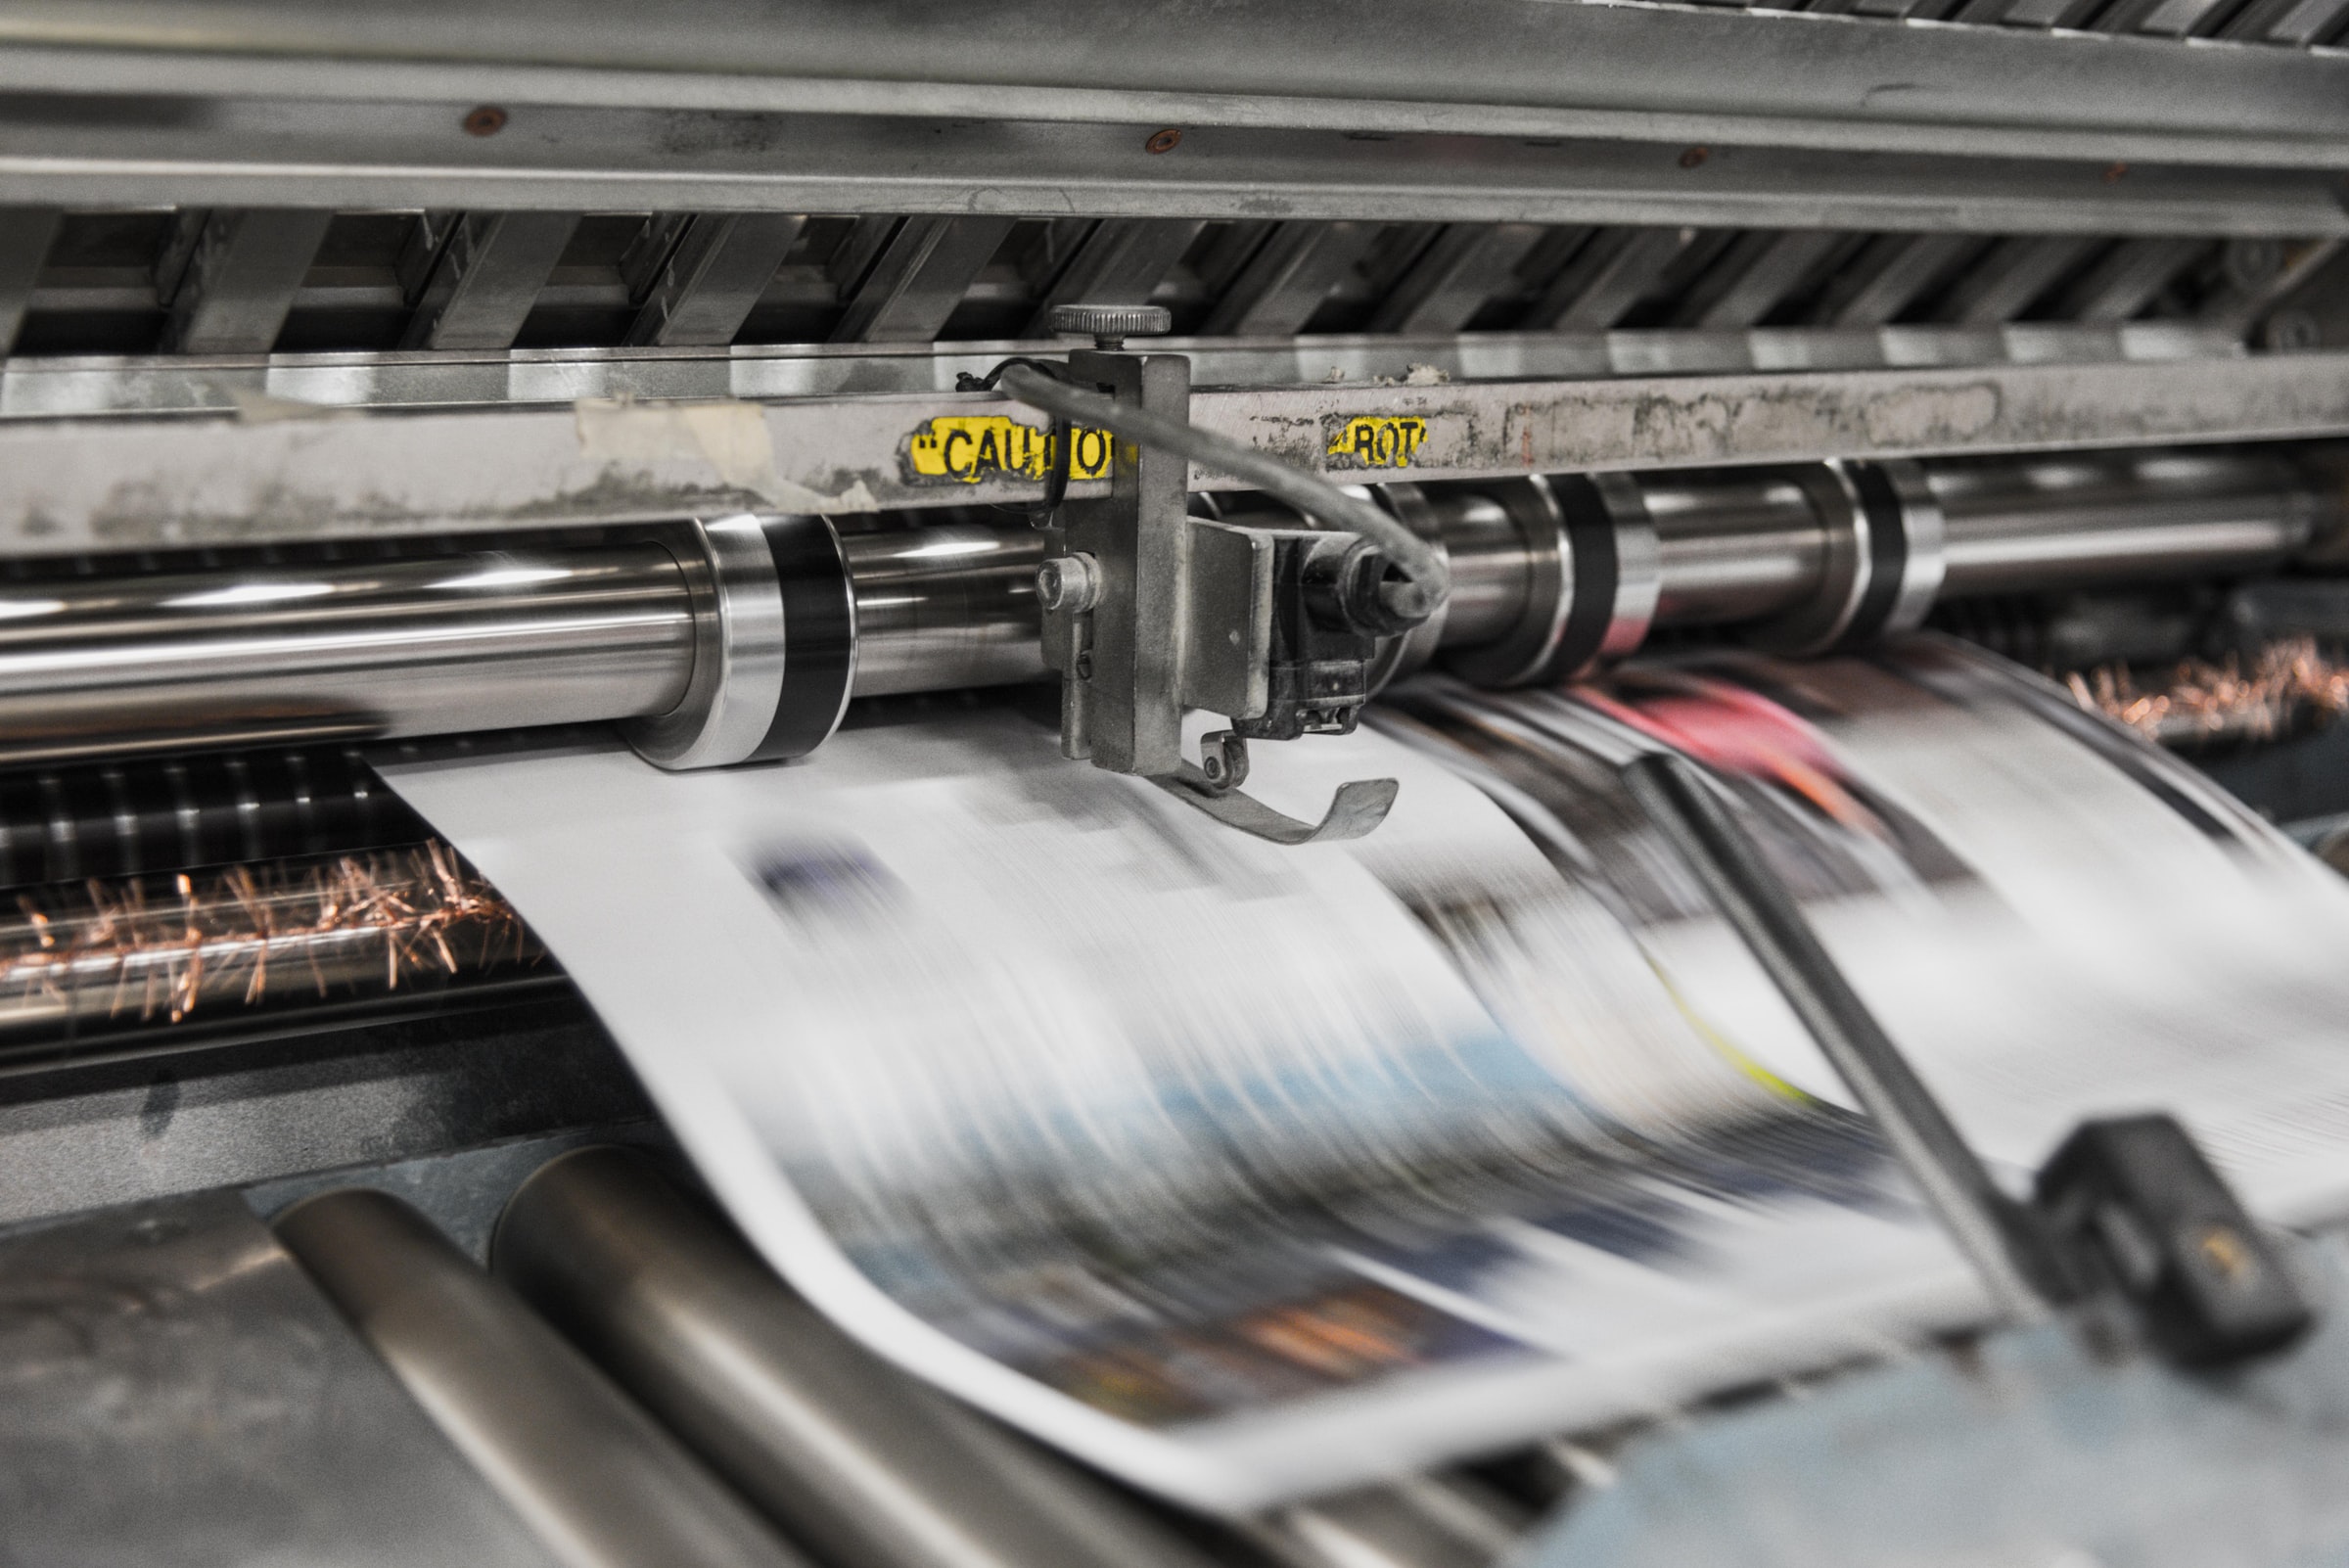
How Many Packages Do You Need?
Your packaging manufacturer or printer needs to know how many pieces you want to produce. Traditional printers often require a minimum order to print your package or label. However, there are some online companies, like Packly, that don’t have this requirement. Keep in mind that the larger your order, the less expensive it becomes per piece printed. You’ll need to plan ahead to save the headache of ordering too many—or too few—packages.
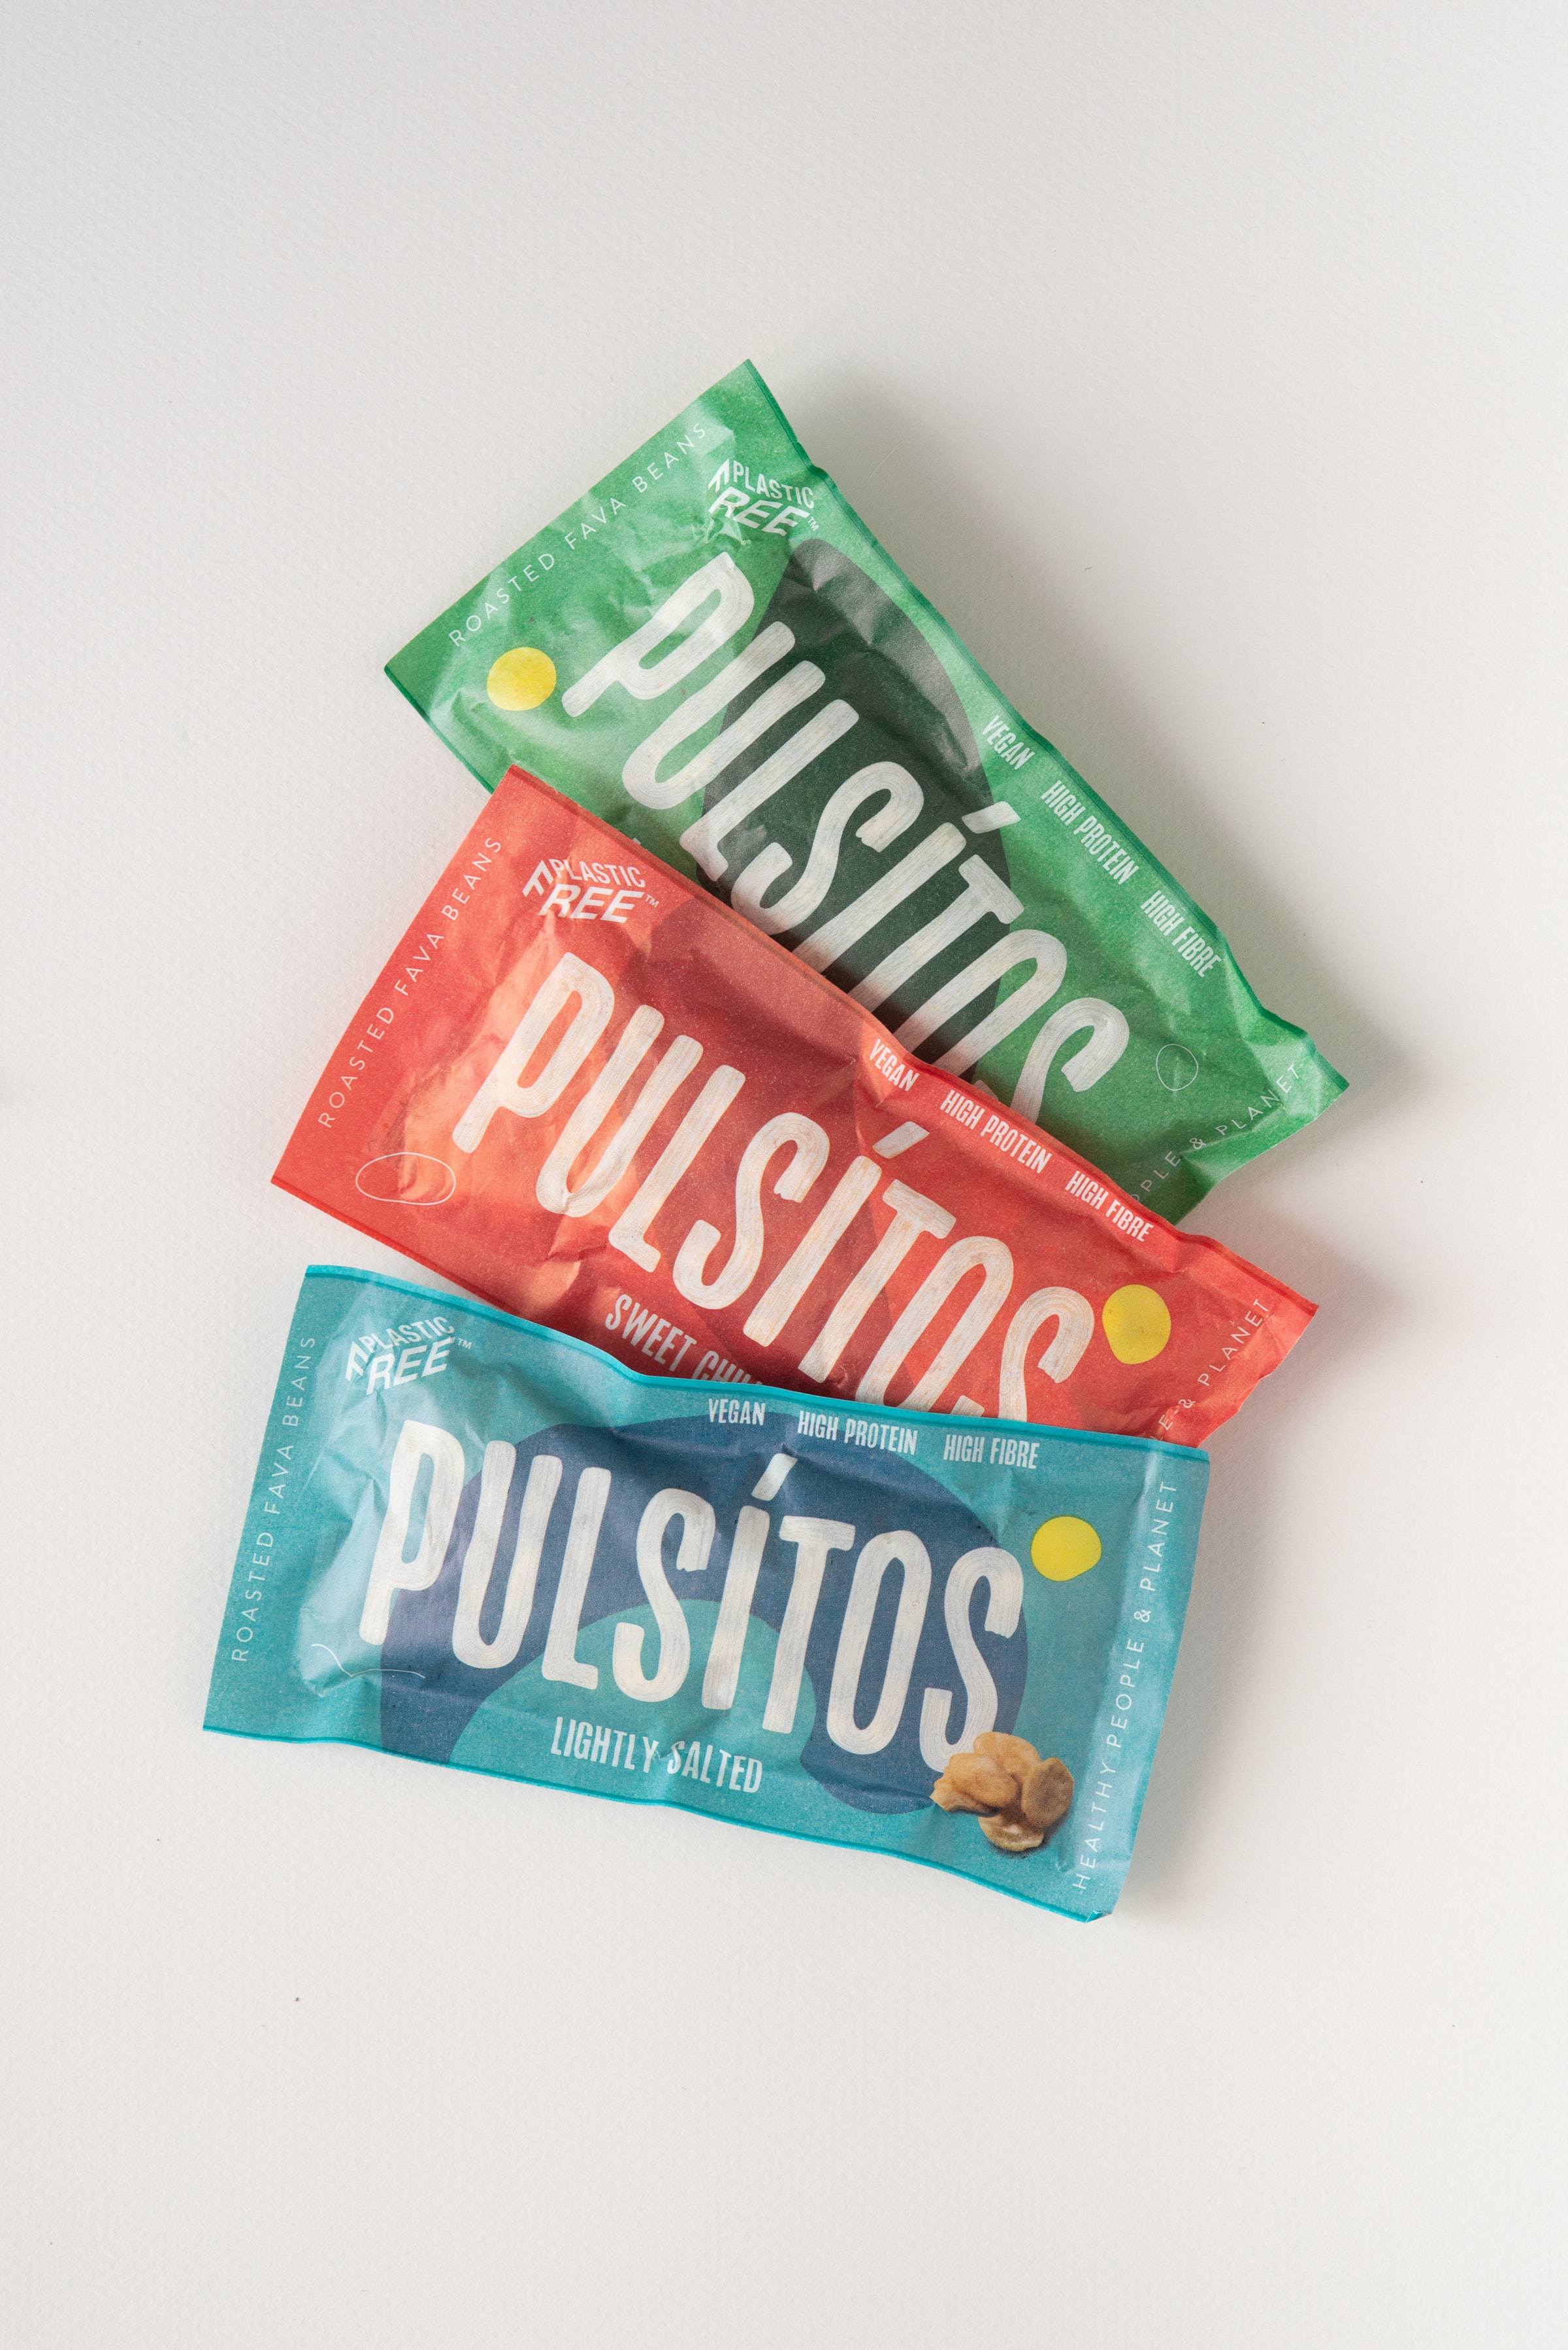
What Kind of Package or Label Does Your Product Need?
Some products like bottles may only need a label to serve as the ‘package.’ While other products like shoes, cosmetics, or electronics would be fine in a box. There are some items, though, where a mere label or box won’t due. Your printer will work with you to figure out exactly which type of container—if any—is needed.
Which Substrate Makes Sense for Your Product?
Have you ever seen a toy or device surrounded by cheap, questionable packaging? It almost falls apart when picking it up. Talk about making a bad first impression. Products should be encased in a substrate (or base material) sturdy enough to support its weight. You also want to avoid having any unnecessary, wasteful material. It also needs to be durable enough to protect it during transport and from customer’s—sometimes clumsy—hands. The variety of substrates to choose from is extensive, but here are the most common ones:
- Plastic
- Glass
- Paper (includes bags, paperboard, corrugated boxes)
- Recycled materials
- Biodegradable
Remember to take into account the substrate’s cost when deciding which one to use for your product packaging. For example, flexible packaging is typically less expensive than a bulky box or glass jar (due to the amount of space it takes up and the freight costs).

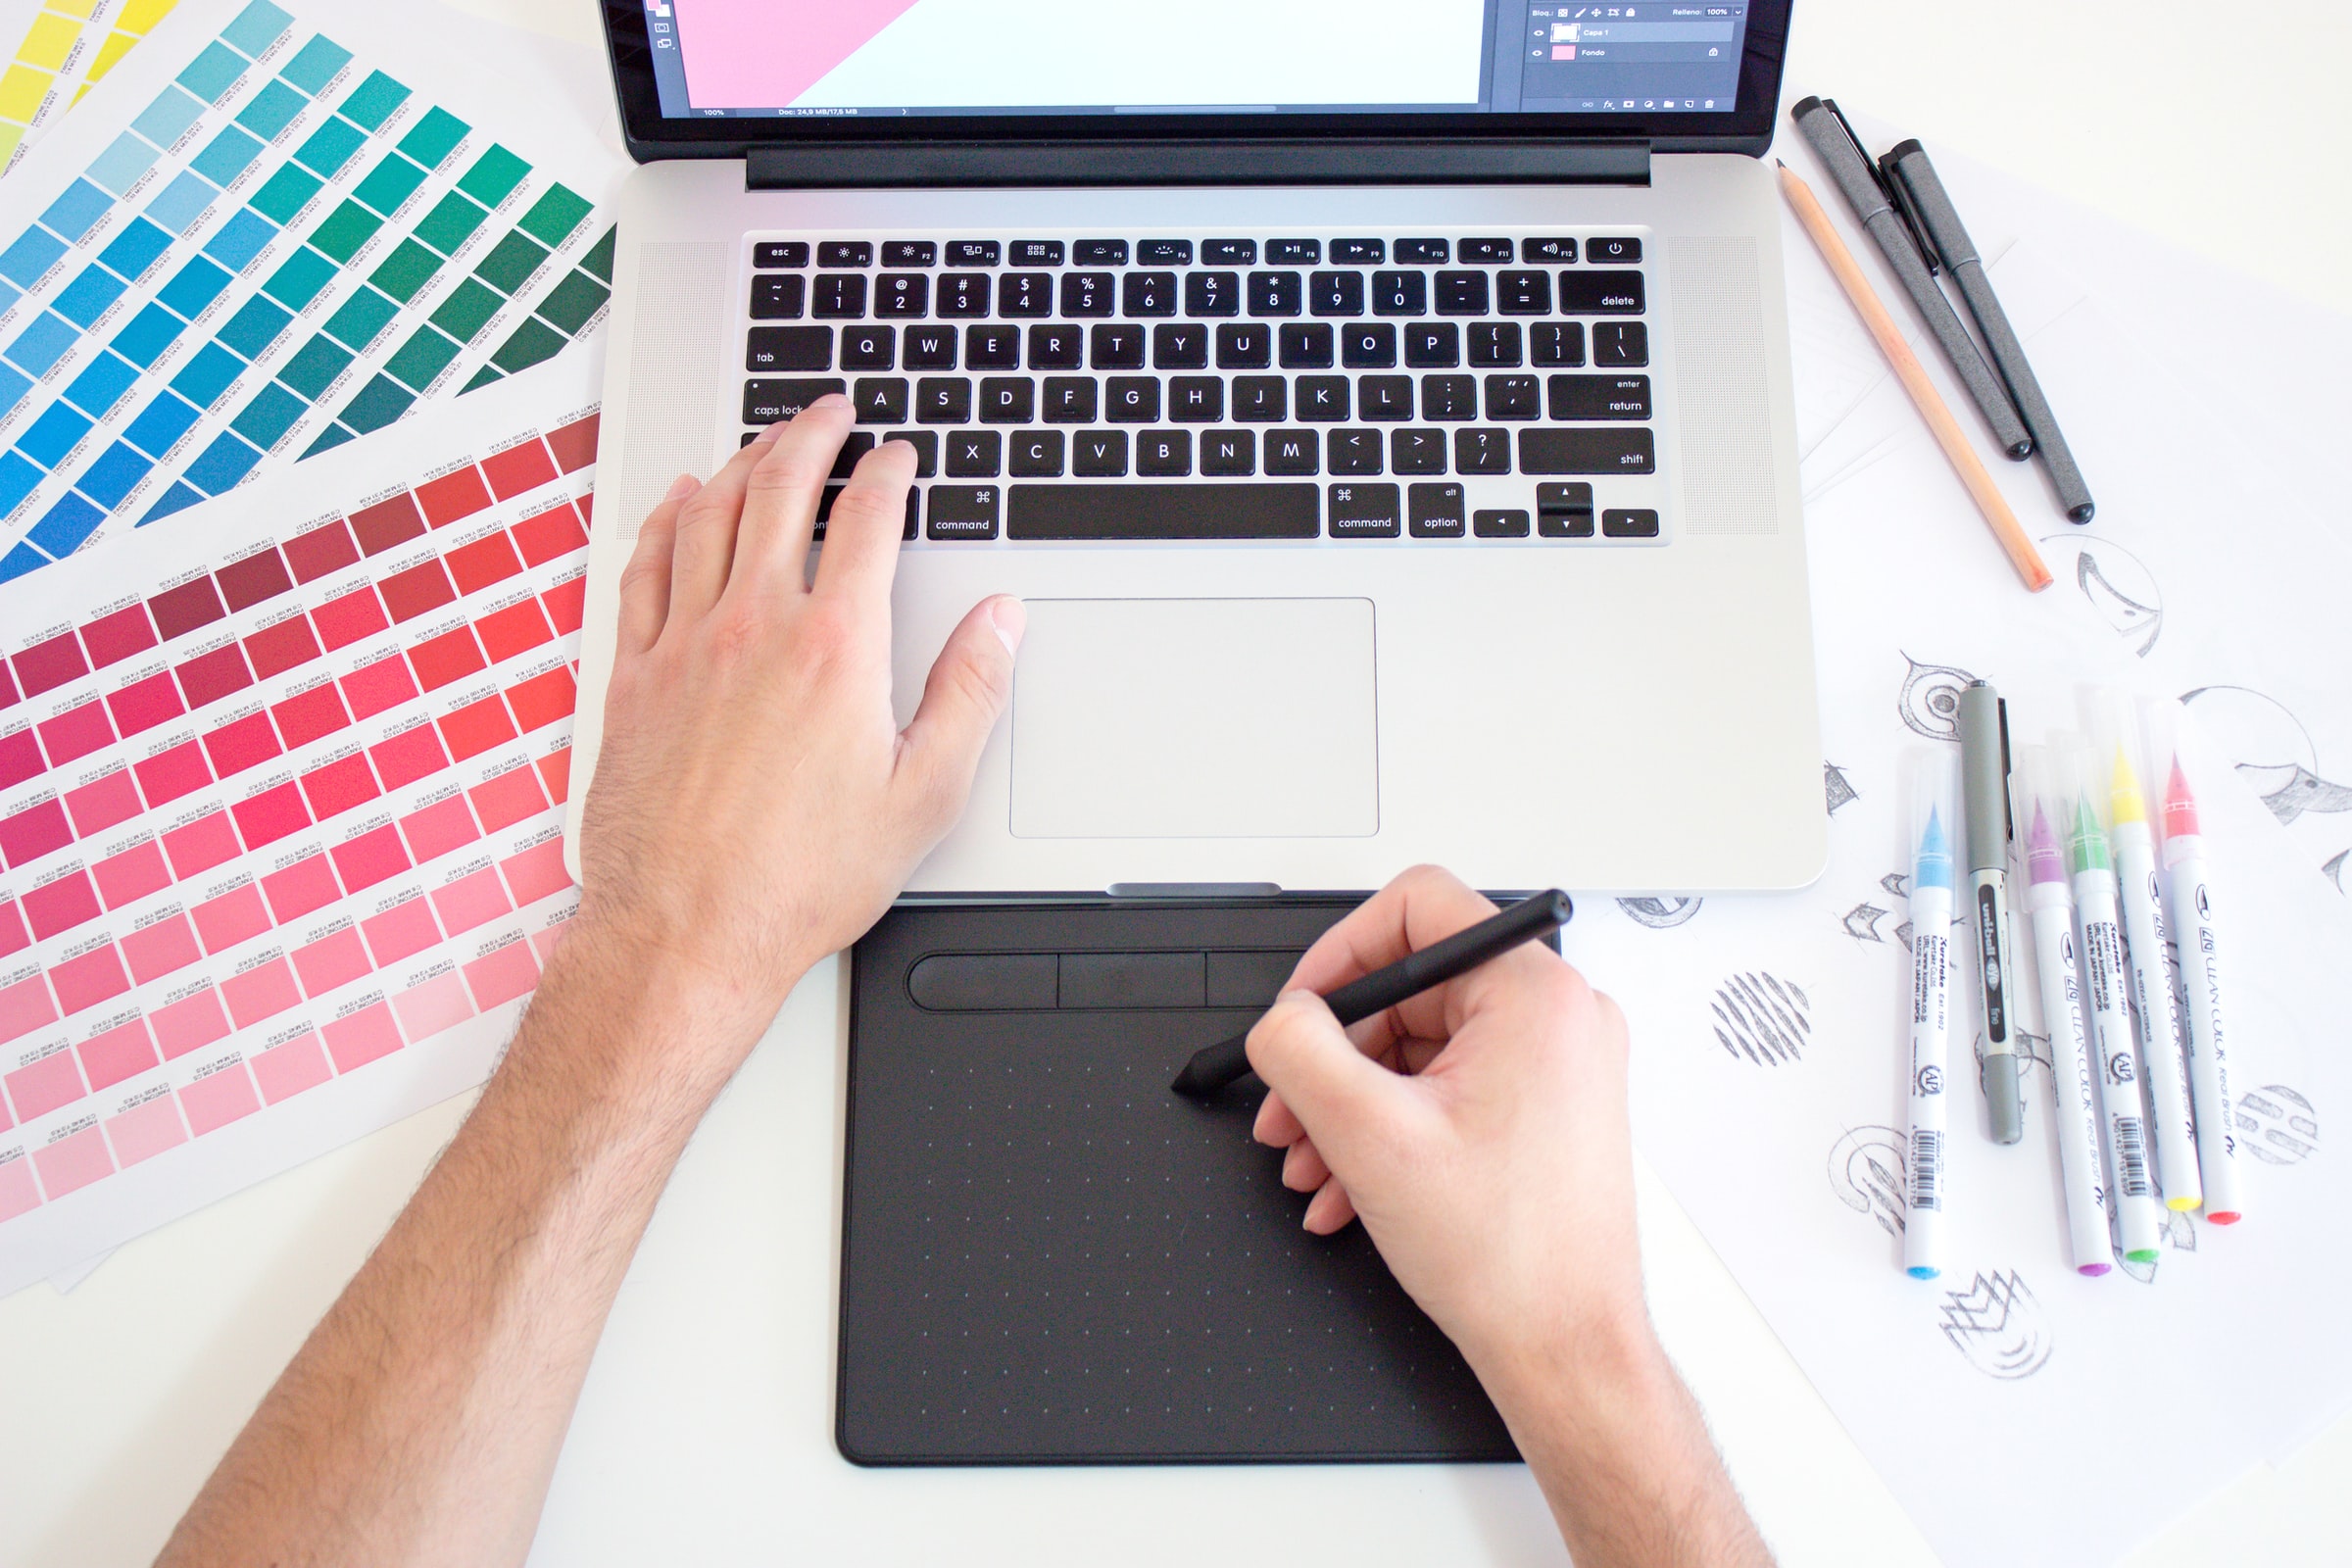
Do You Need Any Special Finishes or Customizations for the Package?
Ever notice any merchandise in stores with packaging that has a glossy element here or a raised logo there? These are considered special finishes. They add visual depth to the package and, depending on the type, can considerably add to your budget. It’s always a good idea to pad your budget just in case. As you work with your packaging designer, you’ll discuss any features to highlight or focus on that would benefit from incorporating a special finish.
Here is a breakdown of the basic finishes most printers offer:
Matte Finish – A non-glossy, non-reflective surface making it perfect for reading text.
Gloss Finish – Works best to bring out vibrant colors and creates a slick, lustrous surface.
Satin Finish – This finish falls between gloss and matte. Not too shiny or dull.
UV Spot Coating – A premium technique where certain elements are varnished with a glossy coat, while the rest of the package has a matte finish to create a tactile contrast.
Some printers also provide customizations requiring special machinery such as:
Die cuts – A sharp blade cuts a specific shape out of the package leaving a crisp and smooth finish.
Embossing – Visual elements such as logos, text, etc. are raised above the material’s surface.
Debossing– For this customization, the elements are pressed into the surface, creating an imprinted effect.
Raised Ink – Ink is printed on a surface, and while the ink is still wet, a special powder is placed on top then heated to create a raised surface.
How do you want to work with the printer?
Some people like to be hands-on when it comes to working with their printer. Others prefer to make the upfront decisions and then let their designer take care of details such as file preparation and handoff. Whichever way you prefer, it’s essential to understand the process of creating the design and files, so the printer has what they need to produce the final package.
Before the Design
The manufacturer will supply a dieline template (or “die”). A die is a packaging template to ensure the right layout for your product’s packaging. It’s typically a diagram that shows all the folds and cut lines of a package in flattened form.
The manufacturer would also supply you with print specs that refer to the size, shape, special finishes, and ways to treat the images.
Design and Production
Once you have your die and print specs, it’s time to hand those over to your designer to produce a final design. When you’ve approved that, the design then goes into the prepress production phase.
The goal of prepress is for the designer to set up the final file based on the specs provided by the manufacturer. This includes adding bleed (extending the design beyond its border), so no blank edges appear in the final trimmed product. The designer will also add any layers to separate any requested special finishes or customizations from the design. Finally, the file is saved in the correct file type the printer specified initially (typically in .eps or .pdf).
File Handoff
If you’re working directly with the printer, the designer will send the press-ready file to you, to hand it over to the vendor and produce the final design for your product. But the designer can deliver the file to the printer as well.
We hope this gave you some things to think about as you go through the product packaging process. And feel free to contact us if you have any questions or needs!
